For most people, ash is the best wood for a hiking stick — it’s strong for its weight, it flexes slightly instead of snapping, and it holds up to years of knocks on rock. If you want a stick you can carve the same week you cut it, hazel wins, because it dries fast and rarely cracks.
How to pick stick wood
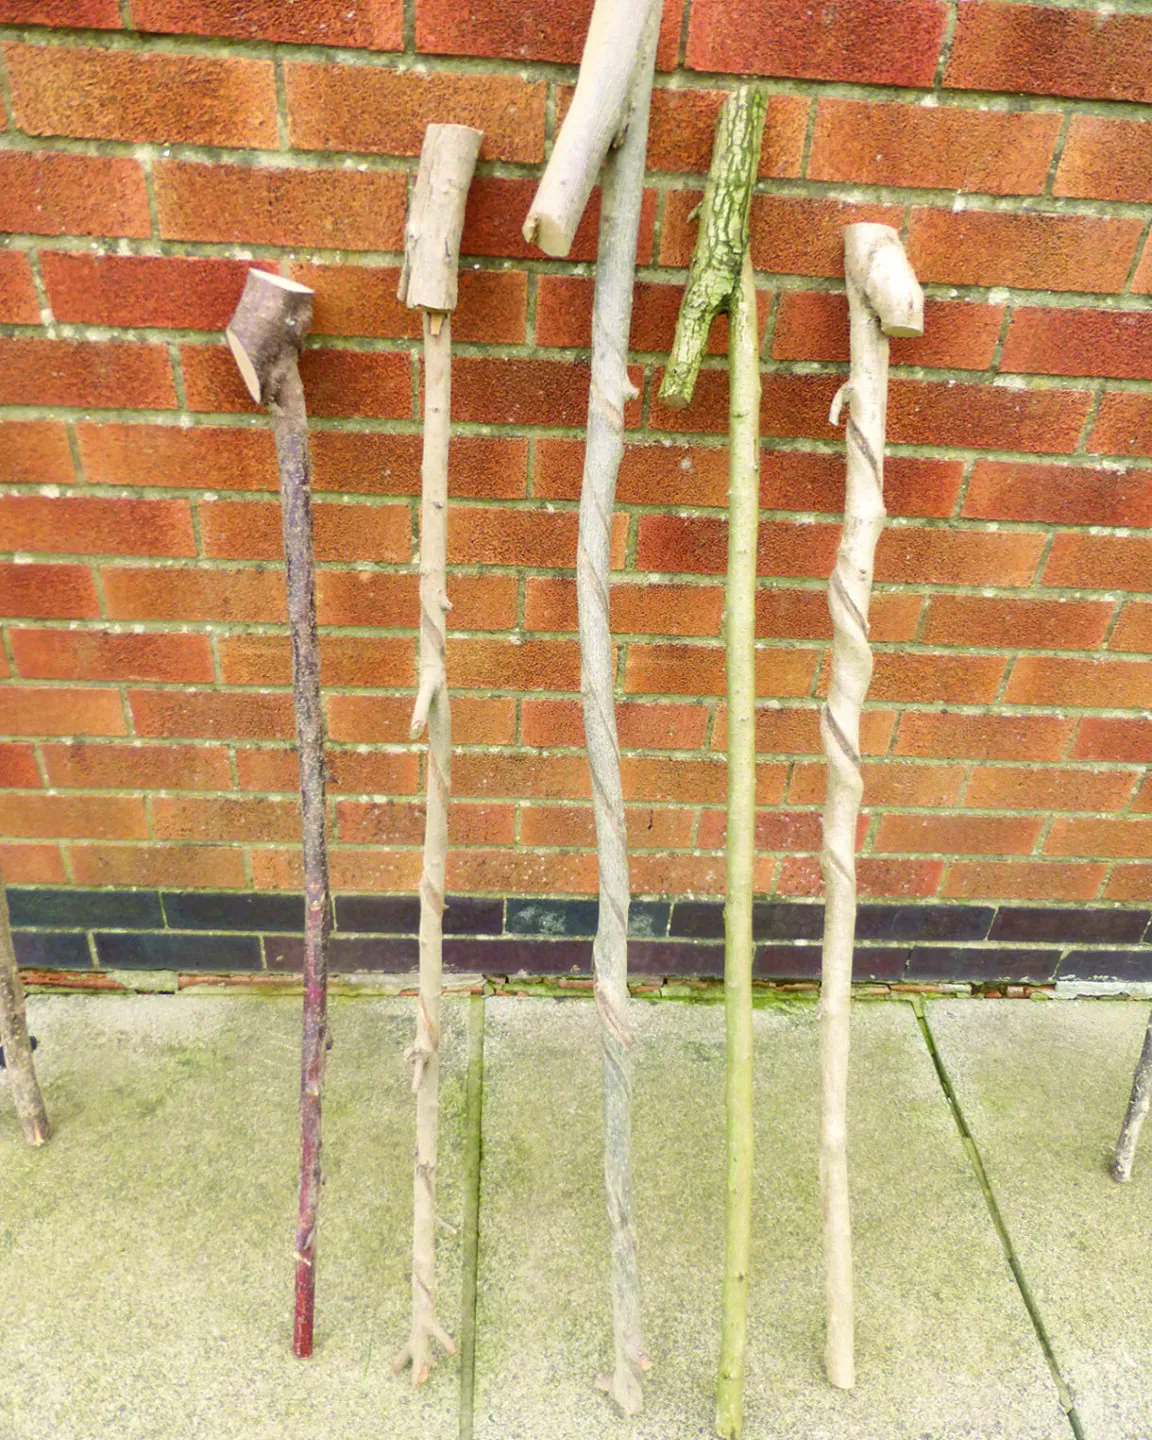
There are three real ways to get a hiking stick, and they differ more in time than in money. Cutting your own is free but needs weeks of drying. Buying a seasoned hardwood blank costs a little but is ready to carve. Using found wood sits in between. Here’s how they compare:
| Method | How long | Effort | Cost | Best for |
|---|---|---|---|---|
| Cut and season ash or hazel | 4–8 weeks drying | Medium | Low | People with access to woodland |
| Buy a seasoned hardwood blank | Ready to carve | Low | Medium | First-timers, apartment dwellers |
| Use found deadwood | A few days to check it | Low | Low | A day hike where you improvise |
No single option wins everything. Cutting your own gives the strongest stick and the best grip fit for your hand, but it takes patience. Buying skips the wait but costs money and limits your choice of wood. Found wood is free and instant, but you can’t be sure how sound it is.
Cutting and seasoning your own stick
This is the traditional method, and it gives the best result if you can wait. Ash and hazel are the usual choices; oak is stronger but heavy, and pine is light but dents easily. You’ll need a saw, a knife, and somewhere dry to store the stick.
- Cut a straight sapling about 1 inch (2.5 cm) thick at the base, and 4–6 inches (10–15 cm) taller than you want the finished stick. Green wood shrinks as it dries, so cut long.
- Strip the bark with a knife within a day or two of cutting. It comes off easily while the wood is green, and stripping it now helps the stick dry evenly.
- Store the stick somewhere dry and airy — a garage or shed works. Lay it flat or hang it, and turn it every week so it dries evenly on all sides.
- Let it dry 4–8 weeks for a thin stick; a thicker one can take several months. You can check progress by weighing it — when it stops getting lighter, it’s ready.
- Shape the handle, sand it smooth with 120-grit then 220-grit sandpaper, and finish with linseed oil or leave it bare.
The strength of this method is that you control every part: the thickness, the grip, the length. Its weakness is the wait — cut a stick today and you can’t really use it until next month.
Check the rules where you cut: in national parks you can’t collect wood at all, and many national forests need a free-use permit. The National Park Service’s leave no trace guidance covers why collecting is restricted on protected land. For anything beyond a small personal stick, ask the local ranger office first.
Carving a seasoned blank from the store

If you don’t have woodland nearby, buy a kiln-dried hardwood blank or a thick dowel from a lumber yard or craft supplier. Oak, ash and hickory blanks are common, and they’re already dry, so you skip the whole seasoning stage. This is the fastest route to a finished stick.
- Choose a blank about 1–1.25 inches (2.5–3 cm) thick and a few inches taller than your hip height. Kiln-dried wood won’t shrink, so cut to final length now.
- Round the top end for a handle grip, using a knife, spokeshave or coarse sandpaper. Take off small amounts — dry hardwood is harder to carve than green wood.
- Add grip texture or a wrist strap hole about 1.5 inches (4 cm) below the top, drilled with a 5 mm bit.
- Sand the whole stick from 120-grit up to 220-grit until it feels smooth in a bare hand.
- Seal it with two coats of boiled linseed oil, wiping off the excess after each coat, and let it dry a full day between coats.
This method’s strength is speed and predictability: the wood is dry, clean and crack-free before you start. Its weakness is cost and choice — you pay for the blank, and you’re limited to whatever your local supplier stocks. There’s also less character in a milled blank than in a stick you cut yourself.
Using found deadwood on the trail
Sometimes you just want a stick for today’s hike. Standing deadwood — a dead branch still attached to a tree, or a hard-wood limb off the ground — is the right pick. Wood lying on wet ground soaks up moisture and rot; wood still standing or on dry leaf litter is usually sound.
- Look for a dead branch still attached to a tree, about 1 inch thick at the grip end. If it bends sharply without cracking, it’s too green or too rotten — skip it.
- Snap-test a small offcut or the tip. Sound wood breaks with a clean, fibrous snap; rotten wood crushes or tears.
- Cut or break the branch free, then trim it to about hip height.
- Check the ground-contact end for soft spots and cut past any you find.
The strength here is that it’s free and instant. The weakness is that you can’t be sure what’s inside — hidden rot or a old crack can split under your weight on a steep descent. A found stick is a trail tool, not a stick you trust for years. A fourth option, bamboo, is light and free where it grows wild, but it’s hollow and crushes at the tip, so it’s rarely worth it.
Which method fits your situation
If you’re in a hurry, use found deadwood — it costs nothing and takes minutes, and you accept the risk that it’s weaker. If you’re doing this for the first time, buy a seasoned blank: the wood is already dry and sound, so your only job is shaping, and you can’t ruin months of drying with one wrong cut.
If you want the best possible result whatever it takes, cut ash yourself, season it slowly, and shape it to your hand — you’ll trade a month or two of waiting for a stick that outlasts anything you could buy. The trade-off is always the same: more time invested, better and more personal the stick.
Rules that matter for any wooden stick
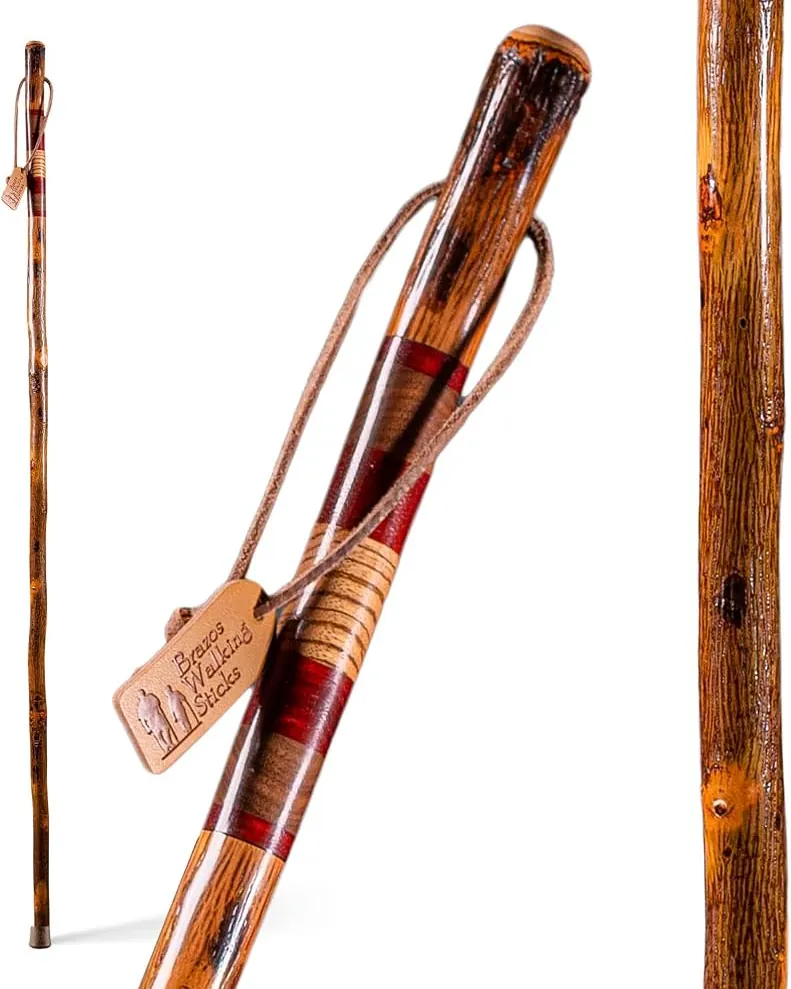
Whichever route you take, a few things stay the same. First, length: the stick should reach your hip bone, roughly the height of your wrist when your arm hangs down — that’s the height most walking-stick guides suggest, and you can test it by standing up straight and checking where your bent elbow sits. Second, grain: the stick must follow the length of the wood, not run across it — cross-grain snaps under side load.
Before you start, check where the wood comes from. Collecting is banned in national parks and needs a permit in many national forests, so ask the local ranger office. Partway through drying or carving, run your hand down the stick and look for new cracks; cut past them or start over. At the end, seal the whole stick — ends included — with linseed oil, because water getting in through an unsealed end is what splits a finished stick.
Related guides
- Best Time To Go To Dolomites For Hiking
- 5 Best Day Hiking Backpack for Petite Female
- Best Time Of Year For Hiking In San Francisco
Frequently asked questions
How long does a cut stick need to dry?
About 4–8 weeks for a stick around 1 inch thick, dried in an airy shed. A thicker stick, say 2 inches, can take 3–6 months. The check is simple: weigh it weekly, and when the weight stops dropping, it’s dry.
Is it safe to use a green, unseasoned stick?
Yes, for a single hike, but it won’t last. Green wood is softer, bends rather than snaps cleanly, and will crack as it dries — especially if you seal it before it’s dry, which traps moisture inside. Treat it as a temporary stick.
What happens if I seal the wood before it’s dry?
The moisture inside can’t escape, so the wood often cracks or the surface stays soft. Worse, trapped moisture can start rot inside a sealed stick, where you can’t see it. Always let the wood finish drying before the first coat of oil.
Which woods should I avoid?
Avoid softwoods like pine and spruce for anything but a light trail stick — they dent, and the grain splinters. Avoid willow and poplar: they’re weak and go soft with damp. Avoid any wood with cross-grain, knots at the grip, or signs of rot.
Can I use a hiking stick I find on the ground?
Only if it passes a snap test and never touched wet soil. Ground wood soaks up moisture and rots from the outside in, and the rot can hide under sound-looking bark. A branch still attached to standing deadwood is a much safer pick.
Why does my stick keep cracking?
Almost always uneven drying. A stick dried fast next to a heater, or lying on one side for weeks, shrinks unevenly and splits. Dry it slowly in a shed, turn it weekly, and seal it only after it’s fully dry.
Conclusion
A walking stick is one of the few pieces of gear you can make better than you can buy. Pick ash if you can wait, buy a blank if you can’t, and test any found wood before you lean on it. Whichever way you go, seal it and check it for cracks before your first long descent — that’s when the stick carries the most weight.